Transforming Text Across Cells: A Step-by-Step Guide to Fill Justify

The Fill Justify feature in spreadsheet software is a powerful tool designed to streamline the process of combining text from multiple cells into a single cell. This guide will walk you through the steps to effectively use this feature, enhancing your spreadsheet management skills.
Step 1: Apply Fill Justify
- Navigate to the Home Tab on your spreadsheet toolbar.
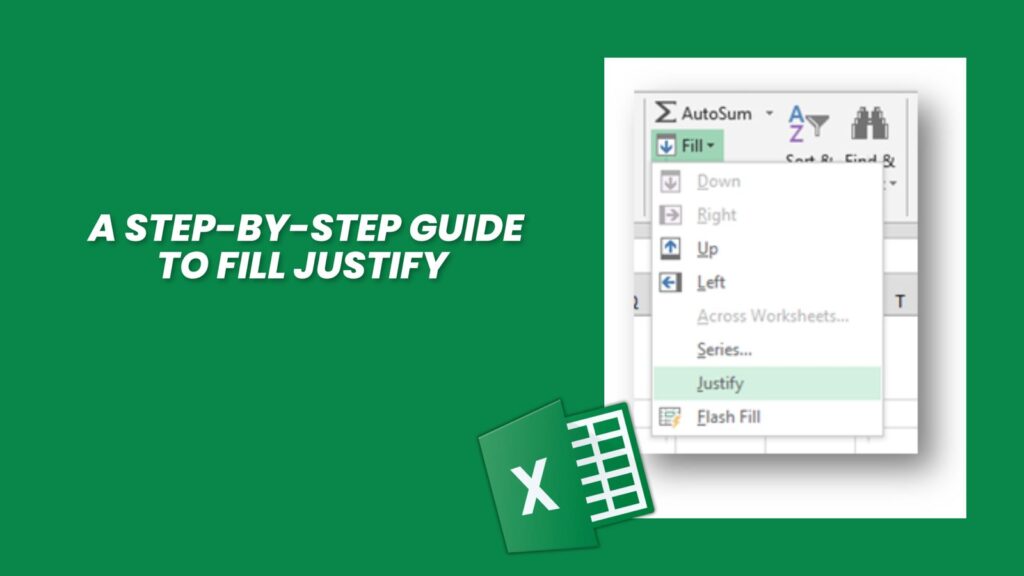
- Locate the Editing Group, then click on Fill, followed by Justify. This action will initiate the merging of your selected texts into a single cell.
Step 2: Prepare Your Spreadsheet
- Ensure that the column intended for the merged text is sufficiently wide to accommodate the entire content in a single cell. This preparation is crucial for the success of the Fill Justify function.
Step 3: Select Your Text
- Highlight all the cells containing the pieces of text you wish to combine. This could range from a few words to several sentences distributed across multiple cells.
Shortcut for Efficiency:
- For those who prefer keyboard shortcuts for speed, you can apply Fill Justify by pressing: Alt ➜ E ➜ I ➜ J. This shortcut bypasses the menu navigation, directly applying the feature.
Important Considerations:
- The Fill Justify feature is tailored for text data. It is not suitable for merging numbers or numerical data into a single cell.
- There is a limit of 255 characters for the text that can be merged into a single cell. If your text exceeds this limit, the surplus will not be included in the final merged cell.
- Column width is a significant factor to consider. Ensure the column is wide enough to display the merged text fully.
By following these steps, you can effortlessly combine text from multiple cells into one, using the Fill Justify feature. This guide aims to simplify the process, allowing you to focus on creating efficient, organized spreadsheets.
